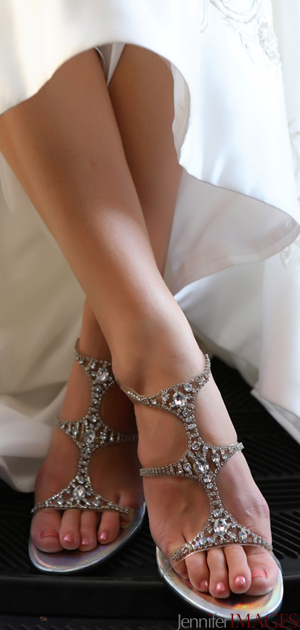
Find out how you can get gorgeous looking feet for your wedding day. Plus find the newest wedding polishes!
Do you want a professional pedicure without the salon price tag? Then save your money and plan a “pedi party” with your bridesmaids and create the look yourselves!
Step 1. Say goodbye to the old!
To get rid of any traces or your old pedicure, use an acetone-free remover.
Step 2. Cut those bad boys!
Cut toenails straight across – don’t cut corners as this may cause ingrown toenails. If you want a square shape, file in one direction.
Step 3. Soak it up!
Clean your toes and soften your cuticles by soaking your feet in warm water for about 10 minutes. Apply foot scrub on the heels and balls of your feet to get rid of dead skin.
Step 4. Cuticle Combat
Use an orangewood stick to loosen and gently push overgrown cuticles back into place.
Step 5. Time for some R&R (relax & rehydrate)
Dry your feet and apply cuticle cream to base of nail. Rub your feet with a gentle foot cream and enjoy a mini-foot massage to relive and revive tired feet.
Step 6. Polish me please!
This is the fun part. To get your toes looking glam, apply a thin base coat, wait a few minutes, then apply your choice of polish and finish with a top coat. We recommend these four fab nail polishes from OPI’s Fairytale Bride SoftShades.
Quick Tips
·Don’t add too many layers of polish, or they’ll chip off easily.
·For a longer lasting pedicure, choose a light colour that won’t show chipped nails or nail growth.
·Don’t use cotton balls to remove nail polish. Stick with cotton pads.
·If you want to try out different nail polishes, place a piece of adhesive tape over your nail. This way you can try on various colours, without the hassle of cleaning the polish off your nail.